Showing posts with label things I love. Show all posts

Jul 11, 2013

Granola Bar Recipe 2

I love granola bars, and two years ago I posted my secret recipe here.
Buuuut that was 2 years and 3 kids ago, I need a easier, BIGGER recipe now, and this one is perfect!! I have made this several times and it is our new favorite! 
A simple recipe with simple ingredients you probably already have in your pantry. 
You AND your kids are going to love it!

1 c. melted butter
2 c. (1 16oz. jar) crunchy, natural peanut butter
1 c. honey
1 c. packed, brown sugar
4 tsp. vanilla
7 c. quick oats
1 c. coconut
1 c. chopped pecans or almonds
1 c. dried cranberries
1 c. chocolate chips

Preheat oven to 350 degrees. In large bowl combine oats, coconut, nuts, and cranberries, set aside. Mix together melted butter, peanut butter, honey, sugar, and vanilla until smooth. Poor over oat mixture and stir until everything is well mixed, add chocolate chips. Press into a greased jelly roll pan (12 1/2-inches x 17 1/2-inches x 1-inches).
Bake for 25 mins allow to cool completely before cutting into squares, store in fridge to maintain shape.
 Recipe adapted from morning health bars.


Feb 10, 2013

Happy - Week 5 - Chocolate Chip Cookie Bars

I love love love chocolate chip cookies but hate hate hate making cookies. It's just too time consuming scooping out the cookies dough onto the cookie sheet and don't even get me started on remembering to take the cookies out of the oven at just the right time, one second to soon and they are too gooey and one second to late you end you with chocolate chip hockey pucks. Sooo I'm always on the lookout for good cookie bar recipes, so much easier to smoosh the dough into a cake pan, bake, and slice. 
I have tried several different recipes and last week we had 3 foster kids here for respit so I thought I would try a one that I saw on a blog I follow Skip To My Lou and had been saving. The kids liked them, my hubby liked them, I thought they were okay but too cakey (if that's a word) for me. I wanted something soft and chewy on the inside and crispy on the outside, you know just like the perfect chocolate chip cookie. Is that really too much to ask for?????
Well I think I found it...I searched on Just a Pinch Recipes, which is a very cool site and if you have never checked it out you must do so!! Anyways, I found a recipe there sounded and looked good so I tried it.  And it was perfect!!!!! 

So what made me happy this past week? 
The perfect chocolate chip cookie bars!!!

Here's what mine looked like sliced hot ... (after I ate several bites)


Thick and Chewy Chocolate Chip Cookie Bars
  • 2 1/8 cups all purpose flour
  • 1/2 teaspoon salt
  • 1/2 teaspoon baking soda
  • 12 tablespoons butter (1 1/2 sticks), melted and cooled slightly
  • 1 cup light brown sugar
  • 1/2 cup granulated sugar
  • 1 large egg
  • 2 teaspoons vanilla extract
  • 2 cups chocolate chips
  1. Preheat the oven to 325 degrees. Adjust the oven rack to lower-middle position.
  2. Line a 9X13-inch baking pan with foil, letting the excess hang over the edges of the pan by about 1 inch so you can grab those edges and pull the bars from the pan after they have baked. Spray the foil-lined pan with nonstick cooking spray.
  3. Mix the flour, salt, and baking soda together in medium bowl; set aside. Whisk the melted butter and sugars in a large bowl until combined. Add the egg, egg yolk, and vanilla and mix well.
  4. Using a rubber spatula, fold the dry ingredients into the egg mixture until just combined; do not overmix. Fold in the chocolate chips and turn the batter into the prepared pan, smoothing the top with the spatula.
  5. Bake until the top of the bars is light golden brown, slightly firm to the touch, and edges start pulling away from sides of pan, 24-28 minutes. Cool on a wire rack to room temperature.
  6. Remove the bars from the pan by lifting the foil overhang and transfer them to a cutting board. Cut into 2-inch squares and serve.

 * I didn't have enough brown sugar so I used 1/4 c. brown sugar and 1 1/4 c. white sugar and added a drop of molasses. Also I cut the better down a few tablespoons and didn't use 2 cups of choc chips, just pored some in till it looked like enough.

Jan 9, 2013

Happy- Week 1

 I have seen some other blogs that are doing "52 Weeks of Happy" posts and my goal this year is to do more blog posts so I thought this would be perfect. I'm a week behind because I have been sick but here's my first...


I have mentioned before that we use, cloth napkins in fact we don't use any paper products (other than TP and the occasional paper plate for birthday parties and when my mom sneaks them in the house when she comes to visit). I have made most of the napkins we use out of recycled things but I came across 7 of these lovelies at Goodwill for 15 cents each on half price day! I was so excited! I also found this pretty vintage pillow case. Collecting vintage pillow cases and sheets is a hobby of mine, I love to re-use them.


The next time I was at Goodwill I was looking through the sheets and found the 8th napkin!! I know! I'm sure you can hear the excitement in my typing!! The cashier (whom I shared my excitement with) gave it to me free, I also found the matching sheets to the pillow case!! SCORE!!

These simple but very pretty things in my everyday life make me happy and remind me that God wants to see us smile over simple pleasures.


Apr 27, 2012


 When my aunt was here to visit last week she taught me how to make these covered hangers. They are great! They do the same thing as those pricy hugging hangers; keep you clothes from sliding off AND keep hanger puckers off the shoulders of your tops, but they are a fraction of the cost and you can make them in any color(s) you want. Ours don't color coordinate because I wanted to use up some small balls of yarn I had, but wouldn't it cheer up your closet if all the hangers were matching or coordinating?
Sorry for the poor quality of photos here, but the inside of one's closet isn't an ideal place for good photos.

Anyway, I just had to share, thanks for reading!!

Mar 28, 2012

Wild Violet Jelly

Wanna preserve a little springtime?

Well I did too, so I made some of these springtime lovelies into...

these springtime yummies that will last all year.

and it is just so pretty!

I was going to share my step by step directions but I found the very nice blog "Blind Pig & the Acorn" already had the recipe and direction done so nicely that I thought I would just link you to there.

I truly hope you find some time your busy scheduled to preserve a little springtime too!!! Thanks for reading.

Photobucket

Jun 13, 2011

Diaper Sprayer

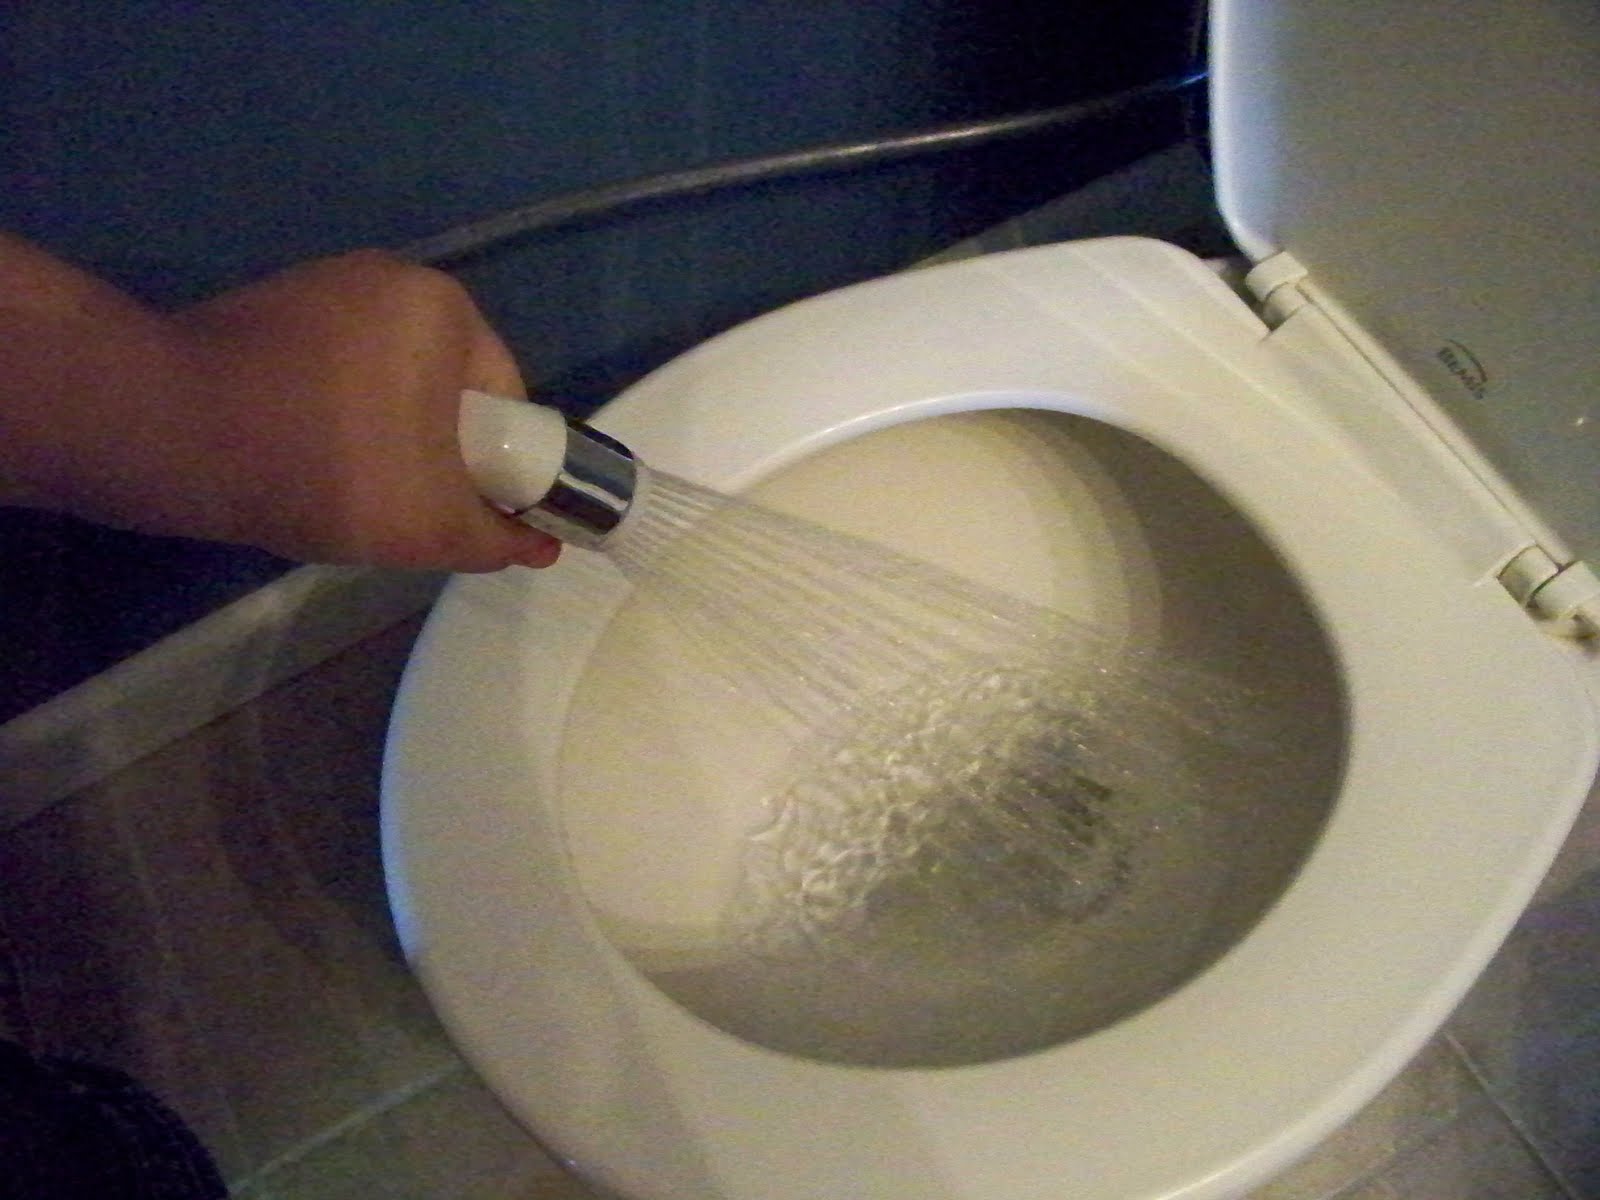
For those of you who use or have used cloth diapers you know what a hassle it is to get the "poopy" out of the diaper. Even with the flushable liners I was still having to do the "dunk-dunk flush" in the toilet. Sooooo, after doing some research and 2 trips to Lowe's my amazing hubby came up with this...
and unless you have done the "dunk-dunk flush" you don't know how excited I am!!


May 25, 2011

Bags!

I went to a 31 party last weekend and was inspired to make some new bags, you know because I NEED more bags!!I love to re-purpose things and when I find a steal I can't help but grab it and find a use for it. I made this green and navy bag from a table runner I found at Pier 1 a couple of years ago for a buck maybe $1.50. I'm not really a table runner type of girl and I didn't even care for it but I knew it would make something great and I LOVE it as a bag!!!
And it's HUGE 9" x
9-1/2" x 13-1/2"!

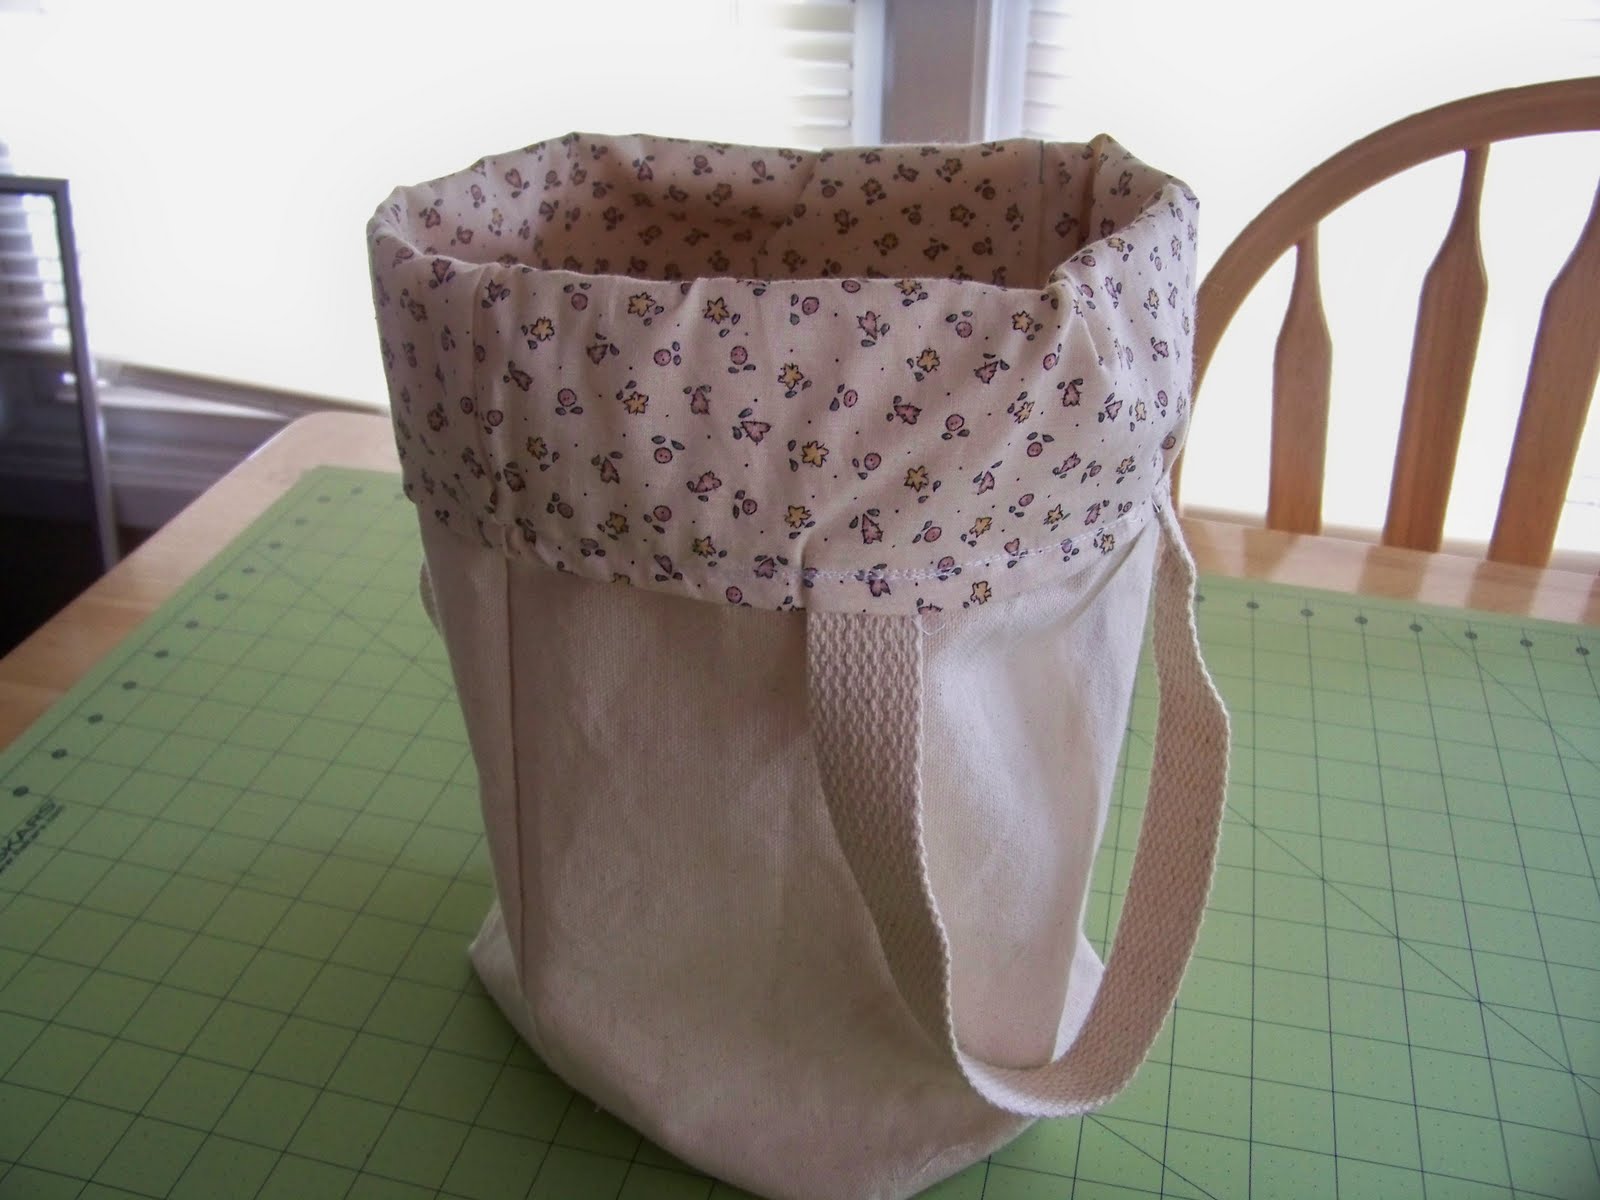
This one is made from some leftovers, it's 13-1/2'' tall and about 24'' around- super easy!!!.


I was busy yesterday trying to solve my yarn problem. (Along with my fabric hoarding I have become a bit of a yarn hoarder.) The trouble with yarn is that it takes up so much space and becomes a tangled mess.

So I put my new bags to use.

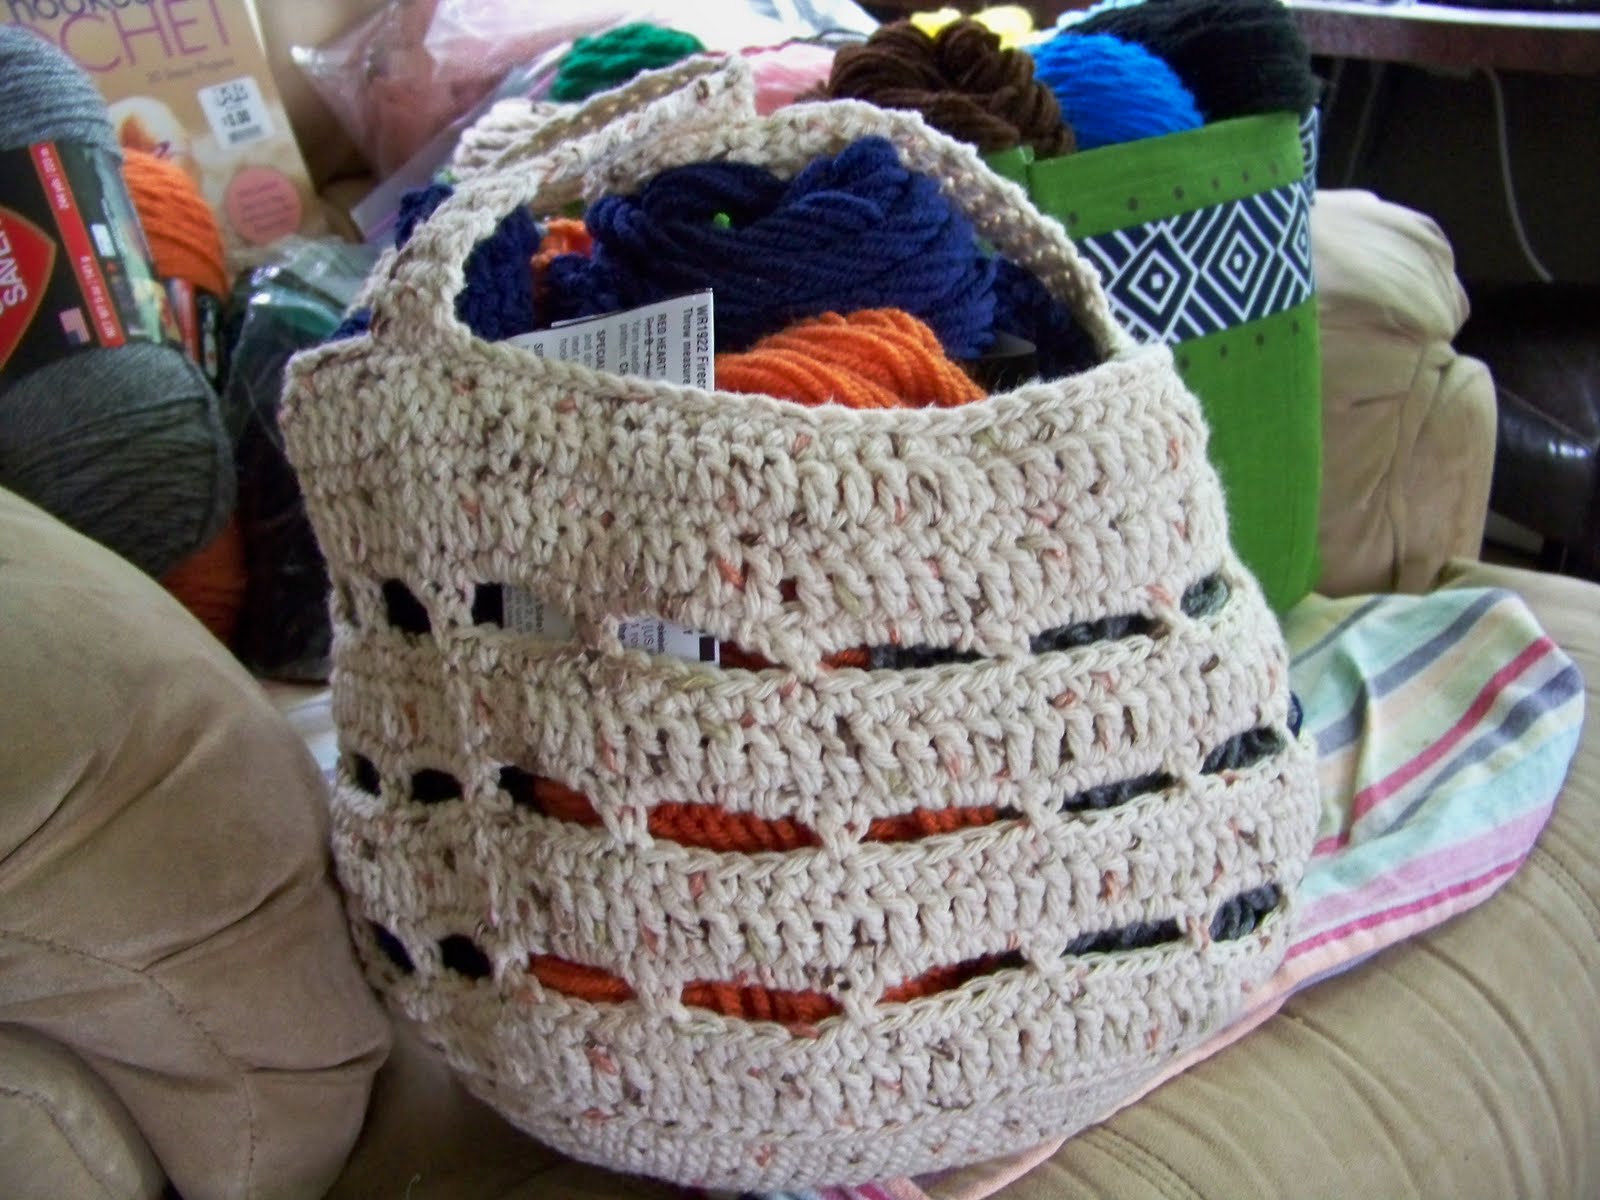
This one is holding 11 new skeins!! I see a future tutorial for this bag!


and this one is a great place for my scrubby making materials.

I crocheted this bag/basket to keep a project in progress in.

Ok, so it didn't really solve my problem, but it helped...

and it gave my a break from working on my "secret project".
An empty oatmeal container makes a great yarn holder, just make a little hole in the lid and it will hold even a super saver skein and keep the yarn you are working with nice an tangle free.

Remember if you see anything here on my blog that you would like me to make for you just send me an e-mail and I would LOVE to create something just for you!!

May 11, 2011

Happy Happy Me!!!

I have to say, the the day I finally get my rhubarb is one of my favorite days of the year. I just LOVE LOVE LOVE it and look forward to it from the time I use my last stashed bag in the freezer. This year I had a little more trouble finding it but boy did I score BIG! A sweet women I don't even know blessed me with more than 7 pounds of it, cut up that was over 20 cups!

Here in WV it's not as common as it is in PA where I grew up. I start my hunt in late March and have even knocked on stranger's doors. But my friend Marylin always comes through for me, she always knows someone who knows someone or she knows them herself- lol!! THANK YOU MARYLIN, YOUR THE BEST!!! If I would have known 8 years ago that we would still be living here I would have planted it a long time ago.


The other thing here that makes me happy today is the beautiful cutting board I am using. My amazing hubby makes these and he finally made me one!!! Yaaaah, Isn't it gorgeous??!! And for that I will make him is favorite desert strawberry-rhubarb crisp.


If you are interested in a custom made cutting board contact him at cospershome@yahoo.com

May 10, 2011

Thrifting!


A church in out little town has flea market every spring, JoLee & I found some great treasures there Saturday. We spent $3 and walked away with these 5 vintage half aprons and 2 vintage tablecloths!!! Yup, you read correctly THREE BUCKS!!
Old tablecloths make great cloth napkins and usually that's what I have in mind when I buy them but these are way to nice to cut up and they fit my table perfectly!!


I LOVE to make something new out of something new and sheets are a great way to get a lot of yardage for next to nothing. Vintage sheets are the BEST!!! I scored these 2 queen size vintage sheets and a pillow case at my favorite thrift store for a total of $6 last weekend. The striped sheet was still in it's plastic, from 19-- who knows!!! and has a pretty islet trim. It stunk like old starch when I opened it and the fold creases stayed even after I washed it, not sure what I'm doing to do with it yet but I have plans for this pretty flowered one and pillowcases make great girls dresses, light summer tops for me or maybe an apron or tote bag... the ideas are endless!! Hmmmm I might see the next giveaway. But for now it looks like I may be ironing for awhile!!


May 1, 2011

Scrubby Tutorial/Pattern


Here is my first tutorial.

These amazing little scrubbies are the reason I taught myself to crochet, that and to pass the hours, days and months of endless morning sickness!!!

I start by cutting nylon netting into 1-1/2 to 2 inch strips, depending on the stiffness of the netting I'm using, stiffer = thinner strips. I bag all the strips and tie them together as I go.

I usually use an I hook, but for the sake of the pics used a K hook for this tutorial.
Here's the pattern...
Ch 6,
Round 1) Join to make a circle, chain 2, 11 dc in circle, join - 12 sts

Round 2) ch 2, dc in same dc, 2 dc in each dc, join- 24 sts
Round 3) ch 2, dc in same dc, 2 dc in each dc, join - 48 sts
Round 4) ch 1, sc in each dc
Make sure all the knots from where you joined the pieces together are facing you the right side will be the inside of the scrubby.

Now start decreasing (you will now be working on the backside of the scrubby) by *sc in the next 2 sc, skip one, sc in next, skip one, repeat from *until you have closed it up, tie it off and stuff the left over inside.

Make sure if you are stuffing your scrubby you do it before you close it up. I stuff mine with the leftover pieces of netting.

Front

Back


Of course if you don't crochet you can always order these. The scrubbies are $3 ea. or 2/$5 and the dishcloth/scrubby sets are $8.

Mar 18, 2011

Homemade Cream Cheese


My cream cheese turned out perfect! I was worried though last night when I went to bed. So much in fact that I dreamed about cheese.
I put my mother cultures in the cream at about noon yesterday and the directions say to leave it sit for 12-15 hours. At 11pm when I went to bed my mixture showed no sign of solidifying, so I prayed and left it sit longer and at 3:30 am... yes I was up in the middle of the night making cheese... my prayers were answered. Thank You Jesus! I love how He is concerned with the things that are important to me. So I scooped it into my cheese cloth and hung it to dry for about 12 hours. I can now say I have successfully made cream cheese. Now I need to make some more bagels.

If you would like to read more about how to make your own cream cheese check this out.

Mar 17, 2011

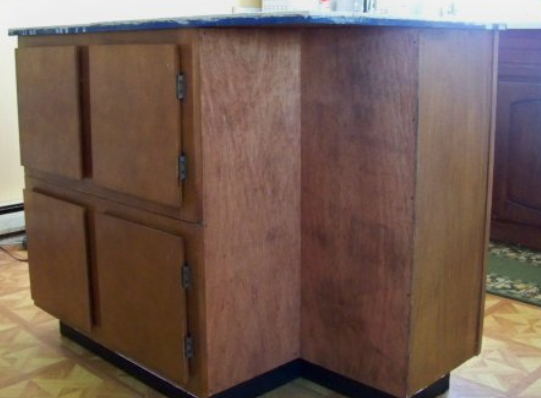
Island Revamp

Brian built this island for me on afternoon a couple of years ago from some scraps he brought home from a job. I needed more counter and cabinet space and he delivered in just a few short hours.
This is what it looks like now! He built this beautiful butcher block top out of raw wood and painted the bottom to match the rest of our cabinets it is beautiful!!
I am a very blessed woman to have such an amazingly talented hubby!!

Oct 21, 2010

My Cool Pin Cushion

I just had to show you this cool pin cushion I found at my local thrift store for 50 cents! Can you believe I have never had a pic cushion??

May 25, 2010

Rhubarb


I came home this afternoon with an excitement most women would have after a day long shoe shopping spree. Only instead of hundreds of dollars worth of shoe boxes I carried a $3 bag of skinny green and pink stalks some people mow down with the first grass. I couldn't wait to get my precious bounty in the kitchen. Rhubarb, something I anticipate every spring since I was a little girl and my best friend gave me my first lip puckering bite. As far as I'm concerned the true taste of summer. I kick myself every year for not planting it, every year vowing I will and every year not.

After having combed the farmers market and local produce shop this weekend I found only a few gross, slimy stalks that weren't worth the effort it would take to clean and salvage them. And then, at long last, I was promised the first of this years spring crop from a sweet friend. Today a 3 pound bag of sour deliciousness, now the possibilities are endless. I cleaned, chopped and tucked them away waiting for the timeless combination of strawberries, coming into season in just a week or two. But tonight we will have rhubarb-blueberry turnovers with a cream cheese crust- mmmm!!

May 11, 2010

Spring Projects


In our attempt to be more green we have eliminated paper napkins and now use cloth napkins that I have made from recycled materials
. We stopped using paper plates a few years ago and only use about 1 roll of paper towels a month we also use t.p. made from recycled materials. Brian is working on a windmill design for generating our own electricity.


After my dear friend Angie sent me a dishcloth she made, I was inspired to teach myself to crochet. I needed a distraction from all day morning sickness and this did the trick!!

Here are a few of the dishcloths a
nd the famous scrubbies I just can't live without!! These took me awhile but finally I got it and I haven't been able to stop churning them out, these are a MUST have for anyone who does dishes or scrubs a dirty stove top!!!


Clothes Pin Bag

After getting incredibly frustrated with my store bought clothespin bag I made this one. I need something that would stay on the clothes line and slide along while I moved without falling off. I made this one yesterday in about 20 minutes. You can have one too, $6.00